


Product Photography Tips
Product photography is an essential aspect of website design, if your pictures aren’t appealing then you could end up losing interest. Good product photography helps to showcase your products in the best possible light, making them more attractive to potential customers. But how do you go about organising a product photo shoot? How do you ensure the end result is going to convey the right message, look professional and showcase your products in the best possible light? In this blog we run through our product photography tips and give some, hopefully, helpful advice about what to consider:
Product Photography Brief
One of the key things to get right is the brief for your photographer. Whether a talented individual in-house is taking the pictures or you are enlisting the services of a professional photographer, the outcome of your product photoshoot is only going to be as good as the brief you provide. It is important to understand what is needed. Should there be extreme close-ups to highlight detail? Do you require different angles, colours and backgrounds? Are multiple images per product required? You will want the images to be complimentary to the end-setting, so consider what colours are used on the website and avoid jarring or clashing combinations, especially in the background. Discuss the requirements with all involved, your web developer/designer, your marketing team, the product team etc. It will also be rather important to understand and communicate the aspect ratio required for the images, by this I mean will the products be shown as: portrait, landscape or even square? What size will the image be cropped to (if applicable)? The photographer will need to understand all of this so that they capture within the required framework.
Where Else
Product photography is not all about website use, you will also need to be able to use the product images for your digital marketing (social media, email marketing, product listings on selling sites etc.). If you are going to take the time to shoot the products for your website then consider what else you might need to use the images for. You might also need high-quality images for your traditional marketing (flyers, leaflets, postcards etc). For printed products your images will need to be of a much higher resolution (quality) than your web images, so always ask your photographer for the original size files as well as the edited/cropped images, most will automatically provide them but not all do and not all are skilled at reducing image sizes to web appropriate sizes. Speaking of size, don’t forget to adjust the image quality and size when applying them to your website, read this article: Are Images Slowing Your Website Down? for great advice about stopping oversized images from slowing your website down. PS. All the images used in this article have had the quality reduced – can you tell?
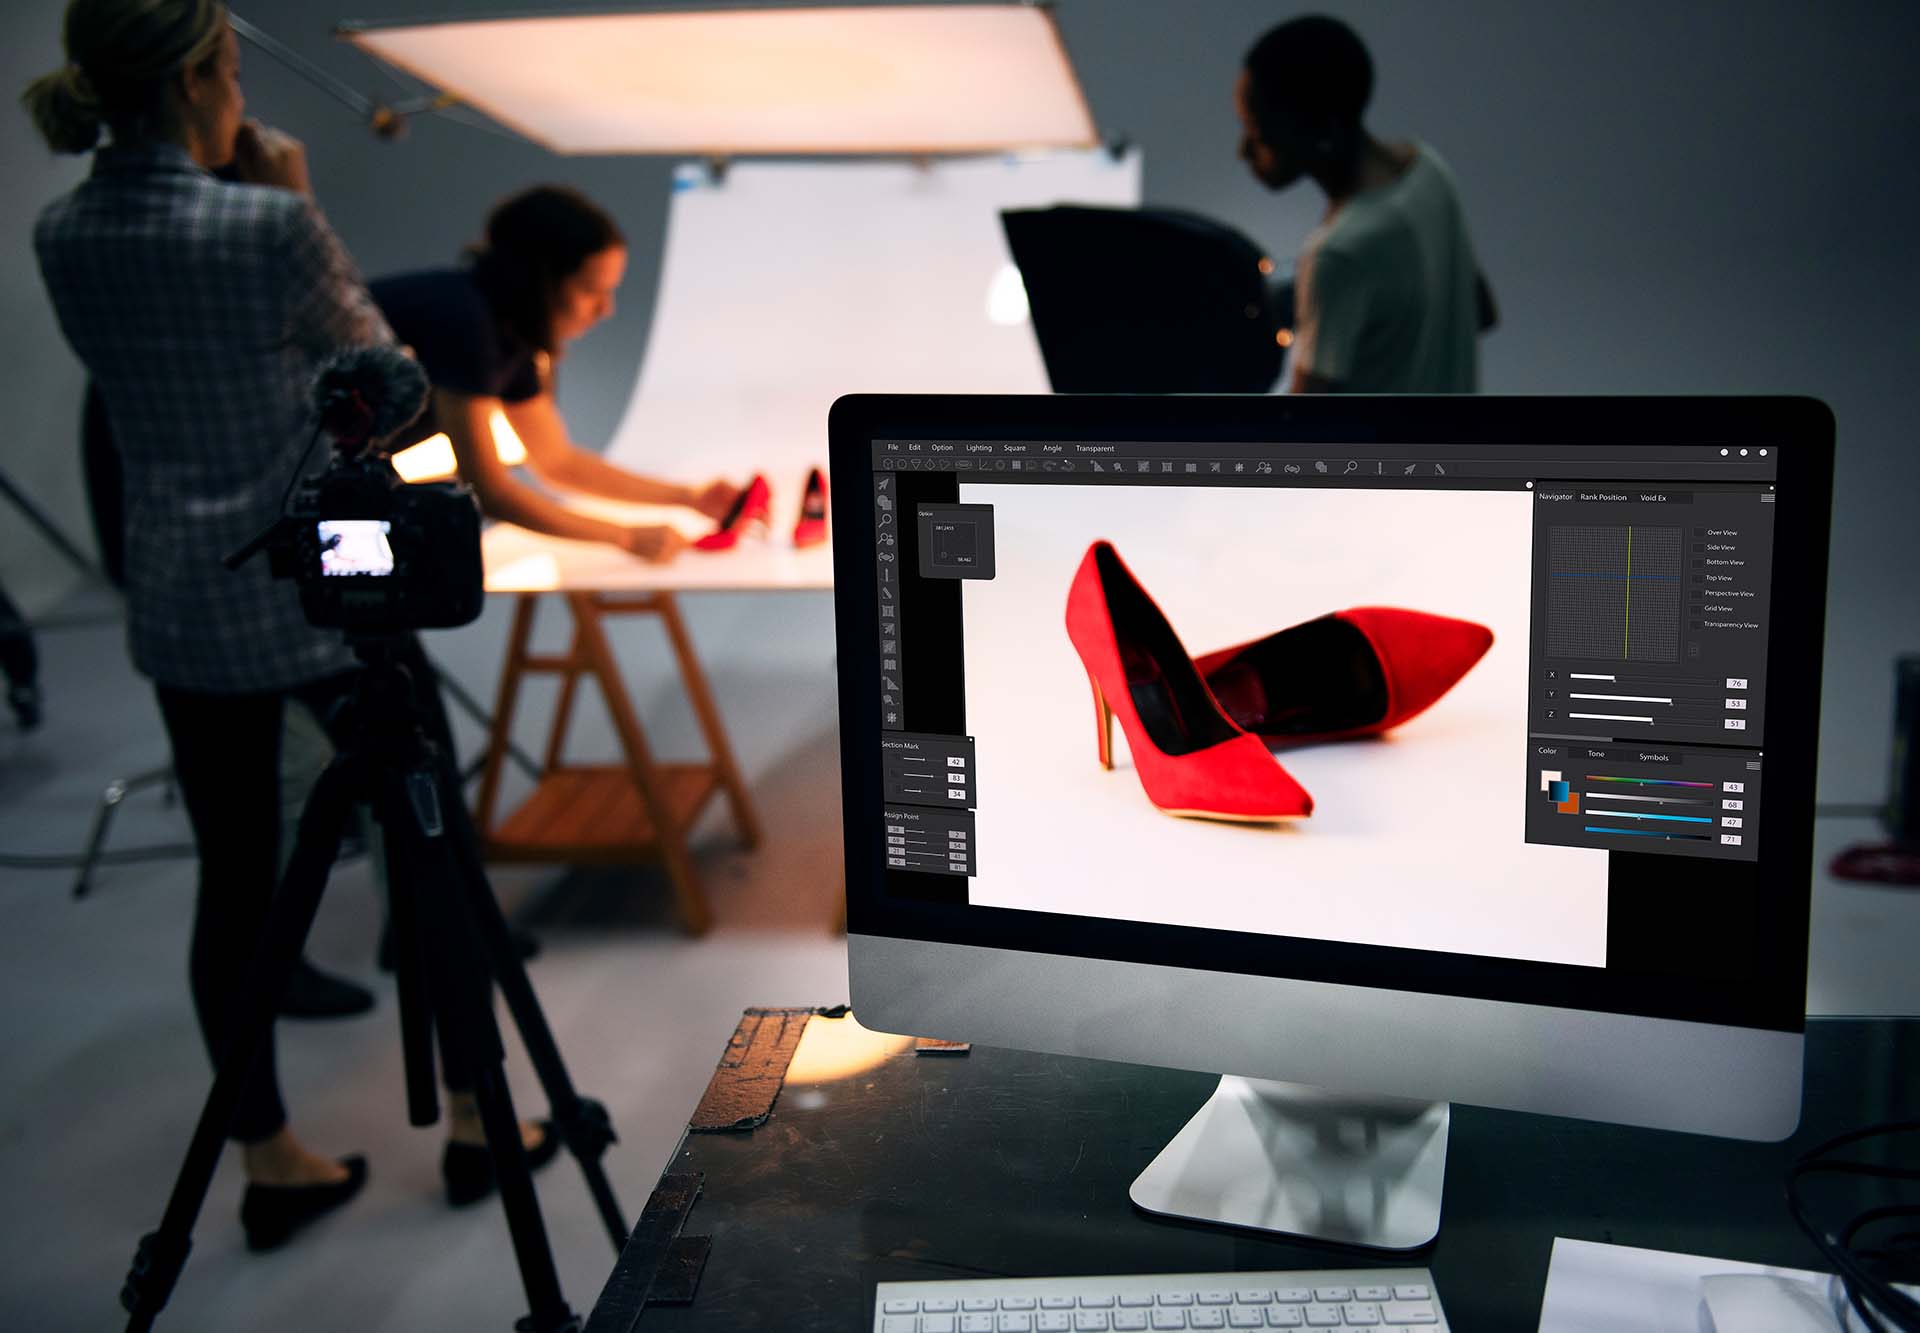
Use Good Lighting
Well-lit images will make your products look more vibrant and appealing. Using ring lights, light boxes, low light or natural daylight all of which will help to show your products off. Experiment with light direction; backlighting, under light, or over to get the right effect.
Use a Tripod
A steady camera will help you take sharp, in-focus photos. There are some great tripods and stands for both traditional cameras and smartphone cameras.
Multiple Pictures
Use multiple pictures on your website, people will want to see your product from various angles and in use if possible. So, make sure your photographer takes photos from every angle as well as carefully staged and “in use” scenes. See staging…
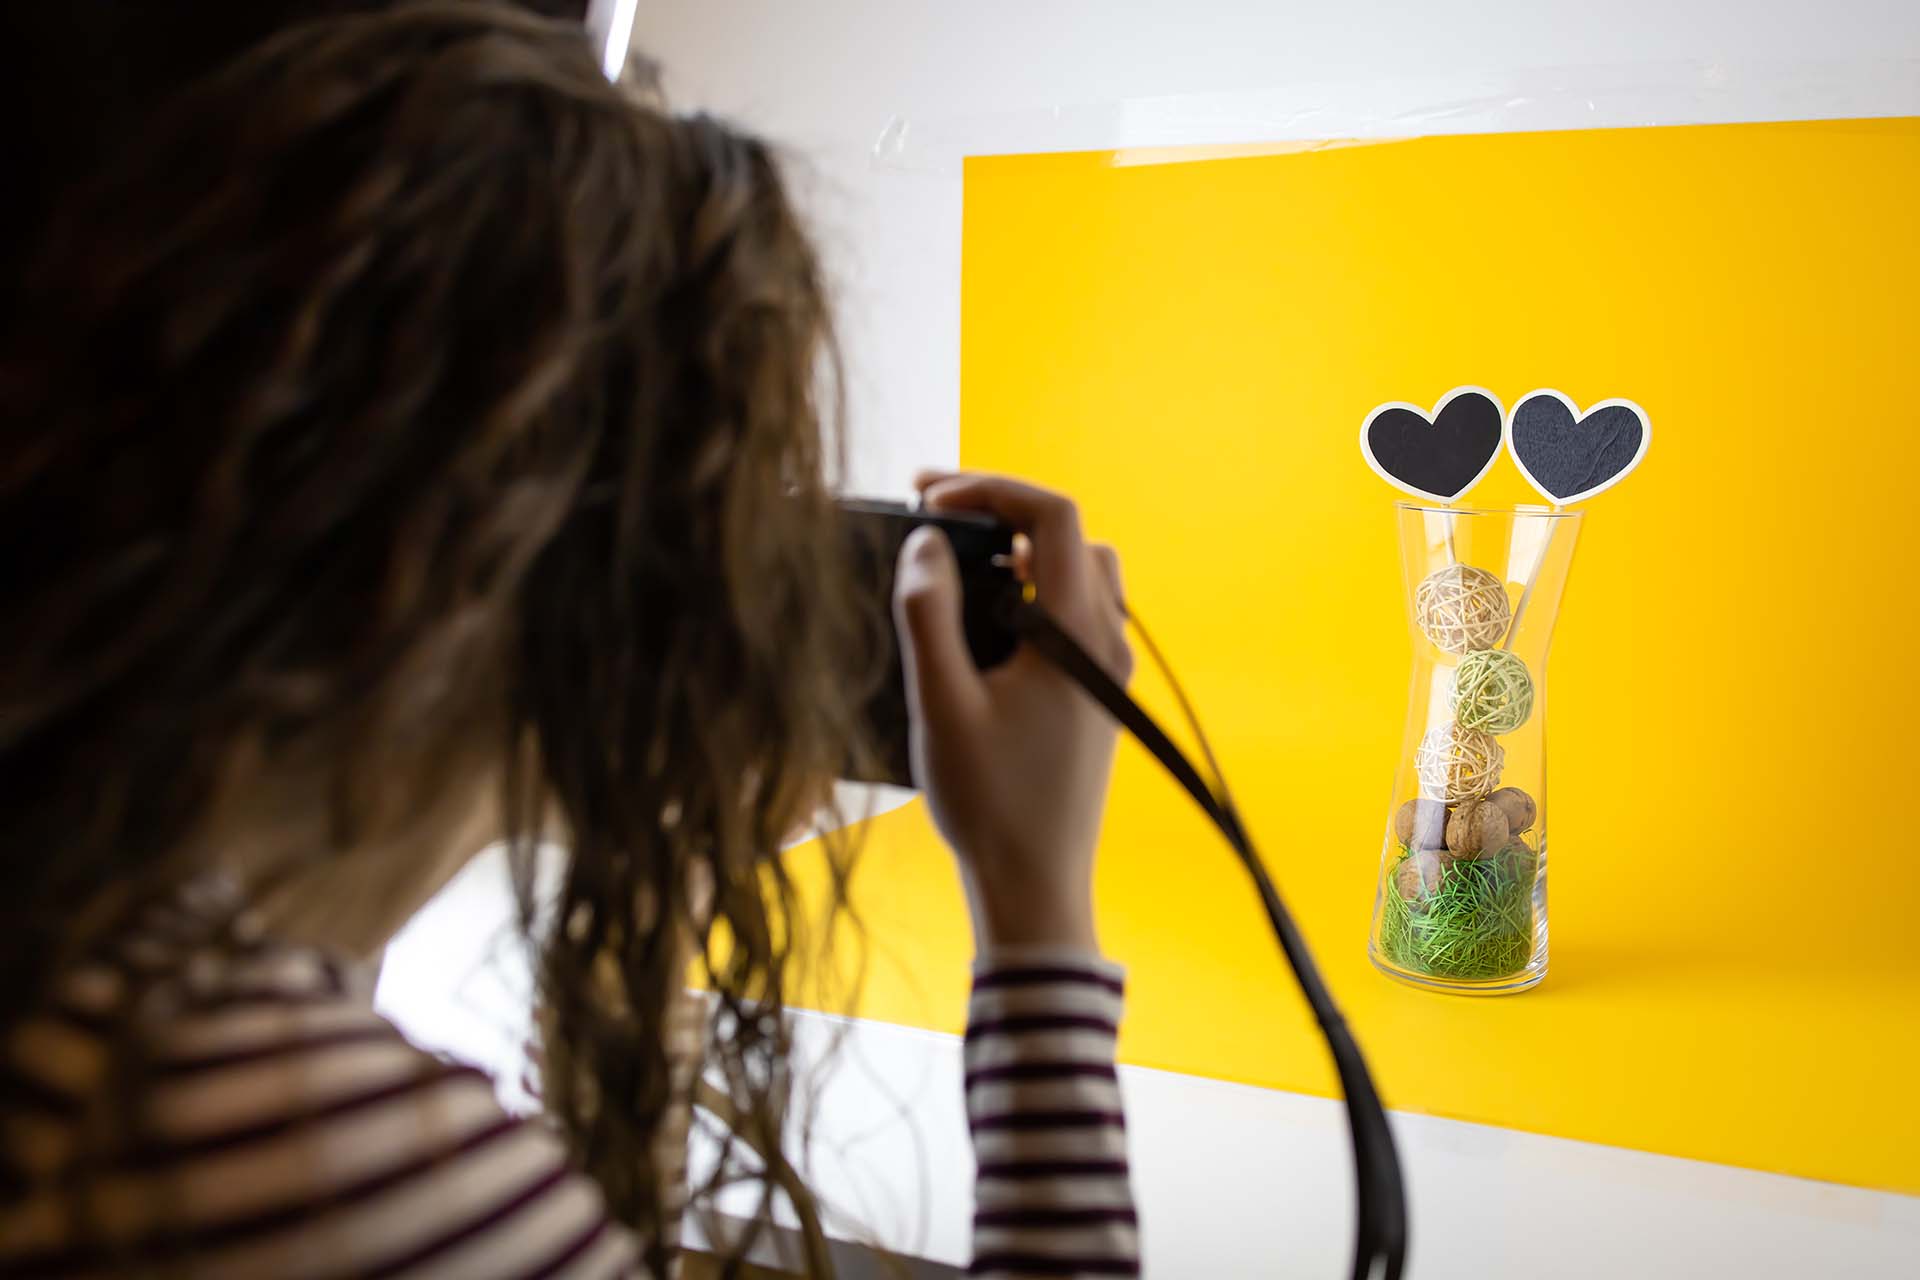
Use a Plain Background
A simple background will help your product stand out and be the focus of the photo. If shooting white or light products make sure your background is not white or too light, it will be lost! Try not to go too dark either otherwise the brightness will be leached from the item.
Experiment with Angles
Try taking photos from different angles to find the best one(s) for your product. Don’t be afraid to get right up close and perhaps capture the product in different scenarios if that makes sense to do so.
Use Editing Software
Editing software can help you enhance your photos and make them look even better. Editing your photos can help to enhance the colours, contrast, and overall look of your photos. Smooth out shadows, light reflections and other imperfections. Try not to get too carried away, no one wants a stampede of product returns because the image didn’t accurately portray the item.

Perspective
Try adding everyday objects to give the viewer perspective of how the product looks and the actual size of the item and it is always good to give viewers a suggestive nudge as to what environments and circumstances your product can be used in. See more in staging…
Colour or Size Range
Add images for each of the variations, whether that is colour or size, or shape and make sure each image is clearly marked as to which one it is. This will avoid confusion. It is also a good idea to have a group shot of the different colours/sizes/shapes so the viewer has the opportunity to choose more than one.
Hire a Pro
If in any doubt about your own photography skills, it pays to hire a professional photographer. Make sure you give your photographer a detailed brief of what you want to use your photos for and how they should be edited, the more info you can give them the better the outcome you will experience. It can be a good idea to get your web designer or developer to recommend a photographer as they will be used to working with them and the photographer will get the product photography orientation/aspect ratio requirements direct from the developer. These are your professionals, make good use of them.
Prepare your Products
Make sure the items are looking their best and remove dust, debris, fluff, the smallest imperfection will be highly visible in your product shoot. Don’t just grab an item that has been sitting on the storeroom shelf for the last 6 months, make sure your sample product looks as good as the ones you will be sending out to your customers.
Stage the Area
Just like your product, make sure the background of your shoot is looking its best and pay special attention to items in both the foreground and background. With staging you are telling a story, you are giving examples of how the product can be used and how it will look in someone’s home or other environments. Think about your target market, think about how they will use, wear, eat, drink or display your product, this is the story we want to capture in the staging. You want to grab someone’s attention with your image and encourage them to think “I need that” “I want that” or “so-and-so would love that”. And you can only do that by planting the idea of its use in their mind. Create scenes and make sure it tells a story that will appeal to your customers. For example, if shooting a candle, create a calm background, serene, holistic and relaxing. Use appropriate props to create this calm oasis but don’t drown out your product.

Product Photography
At The Last Hurdle, we build and design eye-catching websites, social media, digital and traditional marketing campaigns. We work with a few different photographers and we are well versed in providing detailed briefs that understand the various uses that are often required, making sure the images tell a story and are relevant to the target market, so by following our simple product photography tips in this blog article, you should end up with great product photos that will help to showcase your wares in the best possible way. If you need more help, you know where we are!